
Table of Contents
- Assess What Belongs on Your Counter
- Declutter and Purge Non-Essentials
- Best Kitchen Counter Organizers and Storage Solutions
- How to Store Small Appliances in Small Kitchens
- Maximize Vertical Space and Surface Area
- Create Functional Kitchen Workflow Zones
- Kitchen Counter Decluttering Checklist and Maintenance
- Conclusion
Last Updated: August 25, 2026
Assess What Belongs on Your Counter
The first step to organizing small kitchen counters is deciding what actually deserves counter space. Not everything needs to live on your countertop, and that's the core tension most people miss. They treat the counter as storage by default, then wonder why it feels cluttered. The real question isn't "where do I put this?", it's "does this belong here at all?"
Daily-use items are the only candidates for prime counter real estate. If you use something every single day or multiple times per day, it earns a spot. Your coffee maker, knife block, or cutting board? Yes. That bread machine you use twice a month? No. The visibility test helps here: if an item isn't visible and within arm's reach when you need it, it shouldn't be taking up counter space.
Apply the one-touch rule to your assessment. If you grab something, use it, and put it away in the same motion, it belongs on the counter. If you have to move other items to access it, or if you leave it out "just for now," it's clutter waiting to happen. This distinction separates functional counter arrangement from visual noise.
CrispNest offers a thoughtfully curated selection of premium kitchen tools designed for daily use. Quality matters here because items that stay visible need to look intentional, not like overflow storage.
Declutter and Purge Non-Essentials
Before you organize anything, you need to eliminate what doesn't belong. This step determines whether your counter organization actually works or just moves the problem around.
Start by identifying duplicates. Most kitchens have three spatulas, two sets of measuring spoons, and four wooden spoons scattered across drawers and counters (peer-reviewed research). Keep the best version of each tool, the one that feels right in your hand and performs well, and remove the rest. Broken items go immediately. A chipped mug or a utensil with a loose handle isn't worth the space it consumes.
The one-touch rule applies to your entire collection, not just what lives on the counter. If you haven't touched something in six months, it's not a daily-use item (the NIH). If you reach for the same tool repeatedly while ignoring another, you have a preference signal. Trust it. Remove the tools you don't actually use and keep only what you genuinely reach for.
This is where many people hesitate. They think "but I might need this someday." That hesitation is the enemy of functional kitchen organization. A small kitchen counter demands ruthless prioritization. Every item has an opportunity cost, it takes up space that could hold something you actually use daily.
After purging, you'll have a realistic inventory of what needs to live somewhere. Some items will stay on the counter. Others will move to cabinet storage, a drawer, or a pantry shelf. This clarity is what makes the rest of the organizing process actually work.
Best Kitchen Counter Organizers and Storage Solutions
Once you know what's staying, the right organizers make the difference between a functional counter and a chaotic one. The best kitchen counter organizers work by grouping related items and creating visual zones.
Trays and vignettes are the fastest way to create order on a small kitchen counter. A tray corrals related items, oils and vinegars, coffee supplies, cooking utensils, into a cohesive group. This serves two purposes: it makes the counter feel intentional rather than random, and it gives you a visual unit you can move or adjust as needed. The tray becomes a boundary that prevents items from sprawling across the entire surface.
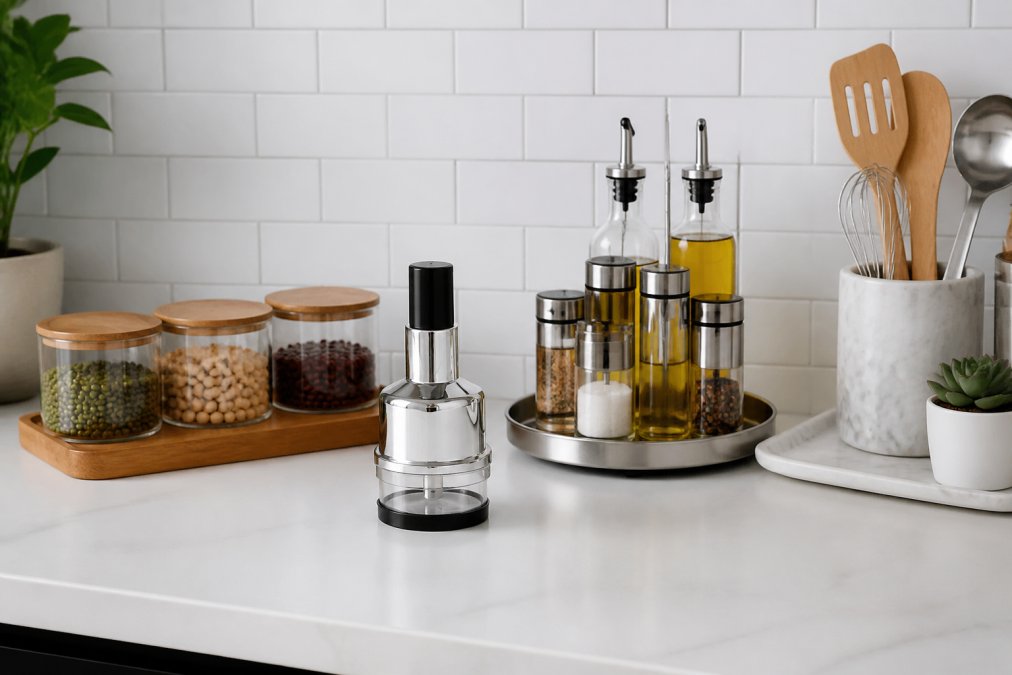
Turntables and lazy susans solve the accessibility problem in small spaces. When counter real estate is limited, a turntable lets you rotate items to reach what you need without moving everything else. A lazy susan holding oils, vinegars, and frequently used condiments saves space while keeping everything accessible. This is particularly useful for corner areas or tight spots where items would otherwise be hard to reach.
Wall-mounted organizers and tension rods expand your vertical space without consuming counter surface area. A magnetic strip holds knives off the counter. A tension rod between cabinet supports lets you hang utensils or kitchen towels. These solutions work because they move items up instead of out, preserving the precious flat surface below.
CrispNest offers silicone kitchen utensil sets like the 14-Piece Silicone Kitchen Utensils Set that are designed to stay visible on your counter without looking cluttered. Quality utensils with a cohesive aesthetic actually improve your counter's appearance while keeping your most-used tools immediately accessible.

How to Store Small Appliances in Small Kitchens
Small appliances are the biggest counter space thieves. A toaster, blender, and coffee maker can consume half your available surface before you've even started cooking (usda.gov). The solution is intentional placement and strategic hiding.
Appliance garages are the gold standard for small kitchens. These are cabinet spaces with a roll-up or sliding door that hides appliances from view but keeps them accessible. If you don't have built-in cabinet space for this, a simple shelf unit with a fabric curtain or sliding door achieves the same effect. The appliance stays on your counter in the cabinet, not on your actual counter.
Vertical shelving above your counter or on walls creates storage without expanding your footprint. Open shelving works if you're intentional about what goes there, matching canisters, attractive jars, coordinated items that look like a display rather than storage. Closed cabinet shelving is better if you want to hide less-attractive appliances or items you don't use daily.
Under-cabinet storage and hidden spaces behind cabinet doors multiply your available storage. A pull-out shelf under your counter, a narrow cabinet beside the stove, or a shelf inside your upper cabinets all hold items you need occasionally but don't want visible. This is where your bread machine, food processor, or blender lives, accessible but not occupying prime counter real estate.
Cord management is part of the equation. Appliance cords create visual noise and make counters feel more cluttered than they actually are. Use cord organizers, clips, or a small cable management box to bundle cords together. Hide them behind or beneath the appliance when possible. A clean cord situation makes even a visible appliance look more intentional.
Maximize Vertical Space and Surface Area
Small kitchen counters demand vertical thinking. Every wall above your counter is usable storage that doesn't consume counter space.
Cabinet storage above your counter is the most obvious vertical option. Open shelves display items that look good together, matching canisters, attractive cookbooks, coordinated serving pieces. Closed cabinets hide less-photogenic items while still keeping them accessible. The key is using this space intentionally rather than as a dumping ground.
Wall-mounted solutions include magnetic strips for knives, pegboards for utensils, and rails that hold hooks for kitchen towels or utensils. These systems move items off your counter and onto the wall, freeing up the surface area below. A tension rod between cabinets holds utensils. Floating shelves display items that are both functional and decorative.
Cord management and visual noise reduction go hand in hand. Cords dangling from appliances, charging cables, and tangled wires create visual chaos that makes even an organized counter feel messy. Use clips or cable boxes to bundle cords together. Route them behind appliances or along the backsplash. Hide charging cables in a small box or organizer. This single step dramatically improves how organized your counter actually looks.
The vegetable chopper from CrispNest, like the Vegetable Fruit Salad Onion Garlic Food Hand Chopper, is compact enough to fit in a small container on your counter without consuming much space, yet it's durable enough to justify the real estate it occupies.

Create Functional Kitchen Workflow Zones
The most organized counters aren't just pretty, they're organized around how you actually work. This is where ergonomic workflow zones make the difference between an organized counter and one that actually functions.
Divide your counter into distinct zones: prep area, cooking zone, and beverage station. Your prep area holds your cutting board, knives, and chopping tools. This is where you do the work, so it needs everything you reach for during food preparation. The cooking zone is near your stove and holds utensils, oils, and frequently used seasonings. The beverage station has your coffee maker, mugs, and related supplies clustered together.
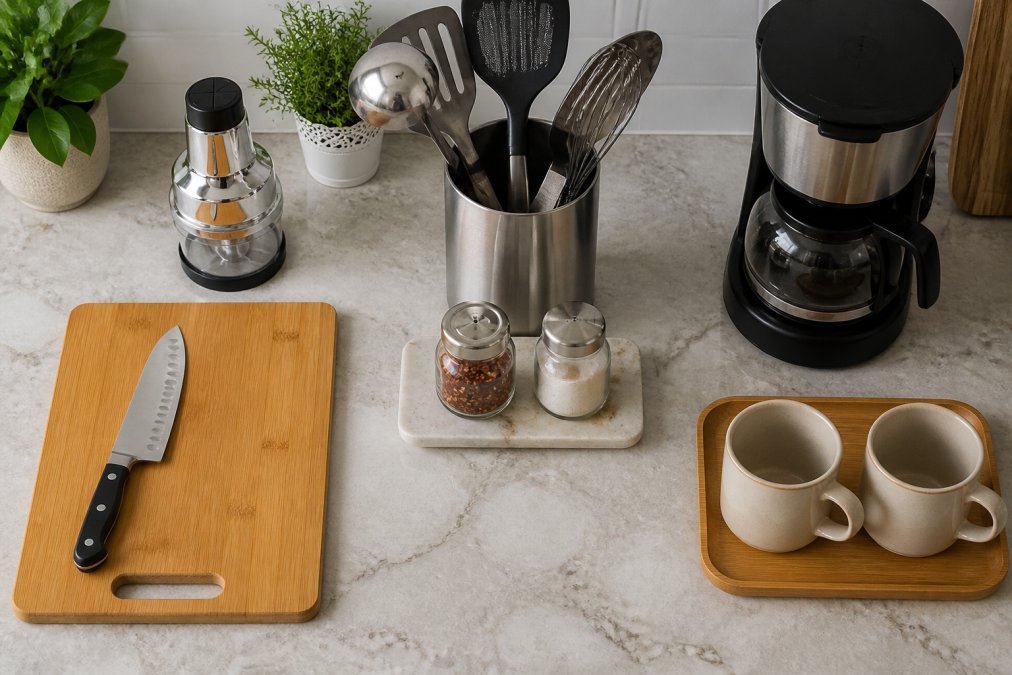
Ergonomic placement means positioning items where you naturally reach for them. Your most-used knife should be at hand height, not below knee level. Oils and seasonings should be near your cooking surface, not across the counter. Mugs should be near your coffee maker. This isn't just about aesthetics, it's about reducing the steps and reaches required for your daily tasks.
The workflow zone approach also prevents items from spreading across your entire counter. When everything has a designated zone, items naturally stay contained. You're not searching for the spatula because it lives in the cooking zone. You're not digging for your favorite knife because it stays in the prep area.
Kitchen Counter Decluttering Checklist and Maintenance
Organization isn't a one-time project, it's a system you maintain. The daily clean-as-you-go routine is what keeps your organized counter from sliding back into chaos.
| Task | Frequency | Time Required |
|---|---|---|
| Return items to their zones | Daily | 2-3 minutes |
| Wipe down counter surface | Daily | 3-5 minutes |
| Consolidate small items into trays | Weekly | 5-10 minutes |
| Deep clean and reorganize zones | Monthly | 15-20 minutes |
| Purge items no longer used | Quarterly | 20-30 minutes |
The daily clean-as-you-go routine takes minutes. After you finish cooking, return items to their designated zones. Wipe down the counter. This prevents clutter from accumulating and keeps your organized system functional. It's the difference between organization that lasts and organization that deteriorates within weeks.
Weekly reset tasks involve consolidating small items back into their trays, checking that zones are still functioning, and adjusting anything that's drifted. Monthly deep cleaning includes reorganizing zones, checking that everything still serves a purpose, and removing items that have crept onto the counter.
The quarterly purge is your chance to reassess. Items you thought you'd use might still be sitting there unused. Something new might have taken up residence. This is when you apply the one-touch rule again and remove anything that's not earning its space.
Small kitchen counters force you to be intentional about every item that occupies that space. You can't hide clutter; every object is visible. This constraint is actually your advantage. When you organize around what you actually use daily, create functional zones, and maintain a clean-as-you-go routine, your counter becomes both organized and genuinely functional.
CrispNest's curated selection of premium kitchen tools is designed with this reality in mind. Quality utensil sets and compact, durable tools like the 12-Piece Silicone Kitchen Utensils Set earn their counter space because they're built to last and designed to look intentional on display. When you invest in tools you'll actually use and maintain your organized zones, your small kitchen counter becomes an asset rather than a source of stress. Start by assessing what truly belongs, purge ruthlessly, and organize around how you actually work. The result is a counter that functions beautifully every single day.

Frequently Asked Questions
How do I decide what items should stay on my small kitchen counter?
Keep only daily-use items within arm's reach of where you use them. Your coffee maker belongs near your mugs; cooking utensils near the stove. Everything else goes into cabinets, drawers, or hidden storage. Use the visibility test: if an item doesn't serve your kitchen workflow or add to your aesthetic, it belongs elsewhere. This approach prevents your counter from becoming visual noise while keeping functionality intact.
What are the best ways to organize a small kitchen counter?
Use trays to group related items, turntables for oils and spices, and wall-mounted organizers to free up surface area. Store small appliances vertically or in appliance garages rather than leaving them out. Maximize vertical space with shelving and tension rods. Implement a clean-as-you-go routine daily to prevent clutter buildup. The key is creating functional zones: prep area, cooking zone, and beverage station, each with tools positioned ergonomically for accessibility.
How can I organize small kitchen utensils without taking up counter space?
Store utensils in a wall-mounted organizer, under-cabinet tension rod, or in a drawer divider rather than on the counter. If you need quick access, use a single compact utensil holder with only your most-used tools. Consider a 14-piece silicone utensil set that nests compactly and includes everything you need without duplicates. This approach keeps your counter clear while maintaining workflow efficiency for daily cooking tasks.
What's the best way to store small appliances in a small kitchen?
Use an appliance garage (a cabinet with a sliding door) to hide toasters, coffee makers, and blenders when not in use. Alternatively, place them on vertical shelving in a corner or use under-cabinet space with pull-out shelves for accessibility. For rarely-used appliances, store them in upper cabinets or a pantry. This keeps your counter surface available for food prep while keeping appliances within reach when needed.
This article was written using GrandRanker


